If your GPU is running hot, loud, or drawing too much power, undervolting is the easiest way to fix it, without losing FPS.
In just 30–60 minutes, you can:
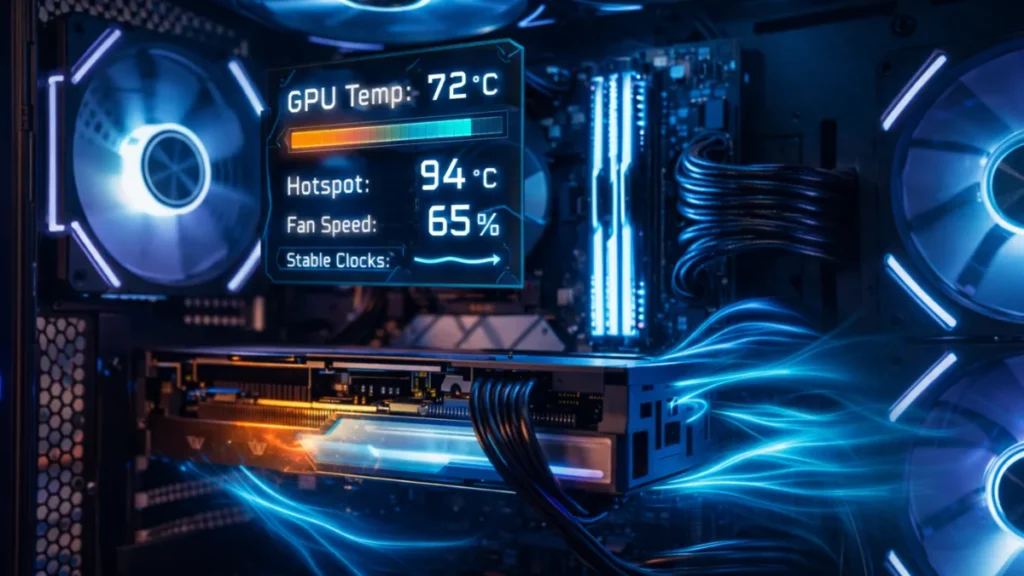
- Reduce temperatures by 10°C or more
- Make your fans significantly quieter
- Lower power consumption by 50W+
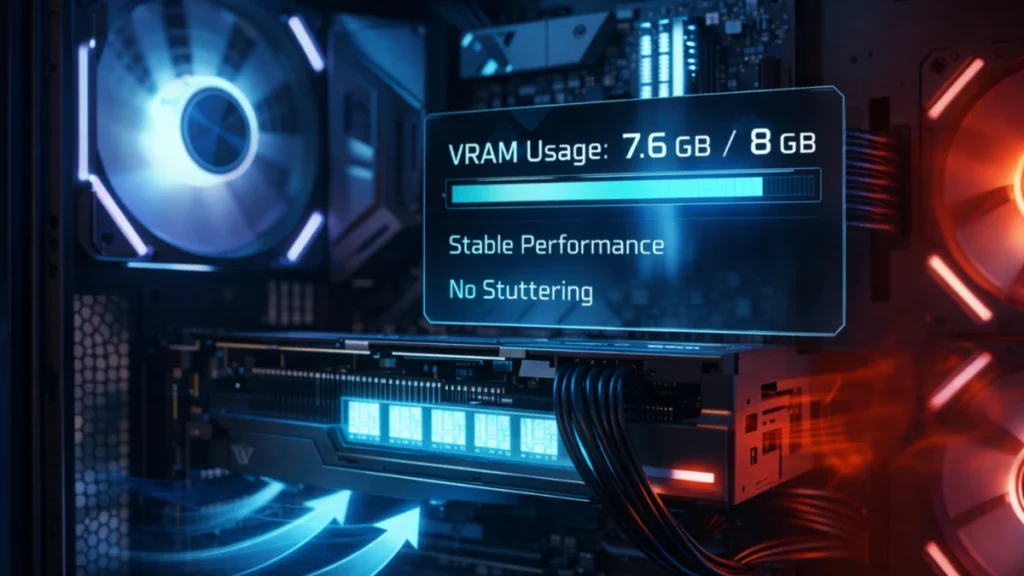
- Keep the exact same gaming performance
In this guide, I’ll show you step-by-step how to undervolt your GPU safely using MSI Afterburner (for NVIDIA and AMD).
No risk, no hardware modification, and you can revert everything in seconds if needed . For complete GPU optimization including driver settings and game configurations, see the comprehensive GPU optimization guide.
How to Undervolt Your GPU (Step-by-Step)
- Install MSI Afterburner
- Launch a game and note your GPU clock speed (MHz)
- Press Ctrl + F to open the voltage curve
- Find your frequency at a lower voltage
- Drag the curve to match your target frequency
- Apply changes and test for 20 minutes
- Adjust voltage until stable
- Save your profile
Why undervolting works
Modern GPUs ship with conservative voltage curves designed to guarantee stability across millions of chips with varying silicon quality. Your specific GPU almost certainly runs stable at lower voltages than the factory default. Manufacturers just can’t test every individual chip to find its optimal settings.
The relationship between voltage and heat is exponential, not linear. Reducing voltage by 10% can reduce heat output by 20% or more. This explains why undervolting produces such dramatic temperature improvements with relatively small voltage changes.
Example temperature reduction after undervolting:
Before undervolt: 78°C
After undervolt: 67°C
Power: 285W → 230W
Power consumption scales with voltage squared. When you reduce voltage, power draw decreases significantly even at identical clock speeds. My 55W reduction came purely from voltage optimization, the GPU still hits the same frequencies, just more efficiently.
Here’s a bonus most people don’t realize: thermal headroom enables better boosting. Modern GPUs adjust clock speeds based on temperature. A cooler card boosts higher and more consistently. Some users actually see small performance improvements from undervolting because their GPU stops thermal throttling during extended gaming sessions.
The catch is that every GPU differs. Silicon lottery means your card might undervolt beautifully or barely at all. The process requires testing to find your specific chip’s limits, but the testing is painless and the potential rewards are significant.
Power limit adjustment: the easy first step
Before diving into voltage curves, start with power limit adjustment. This requires zero technical knowledge and provides immediate benefits.
In MSI Afterburner, the Power Limit slider controls how much power your GPU can draw. Reducing this forces the card to operate more efficiently, it can’t simply throw voltage at the problem to maintain clock speeds.
I tested my RTX 4070 Ti by reducing power limit in 5% increments, benchmarking Cyberpunk 2077 after each change:
| Power Limit | Avg Clock | Temp | FPS |
| 100% (285W) | 2850 MHz | 78°C | 89 FPS |
| 90% (256W) | 2790 MHz | 73°C | 87 FPS |
| 80% (228W) | 2700 MHz | 68°C | 84 FPS |
| 70% (200W) | 2580 MHz | 62°C | 79 FPS |
At 90% power limit, I lost only 2 FPS while dropping 5°C. That’s an excellent tradeoff for most gamers. At 80%, the temperature drop becomes dramatic but performance loss gets noticeable in demanding titles.
AMD users can adjust power limits through Radeon Software’s Performance Tuning section. The process works identically, reduce in small increments and test stability.
Power limit adjustment is completely safe. You cannot damage your GPU by reducing power limits. The card simply runs at lower clocks when it hits the power ceiling. If you don’t like the results, slide it back to 100% and nothing changes.
Voltage curve tuning in MSI Afterburner
For maximum efficiency gains, voltage curve optimization outperforms simple power limit reduction. This technique lets you maintain full clock speeds at reduced voltages, the best of both worlds.
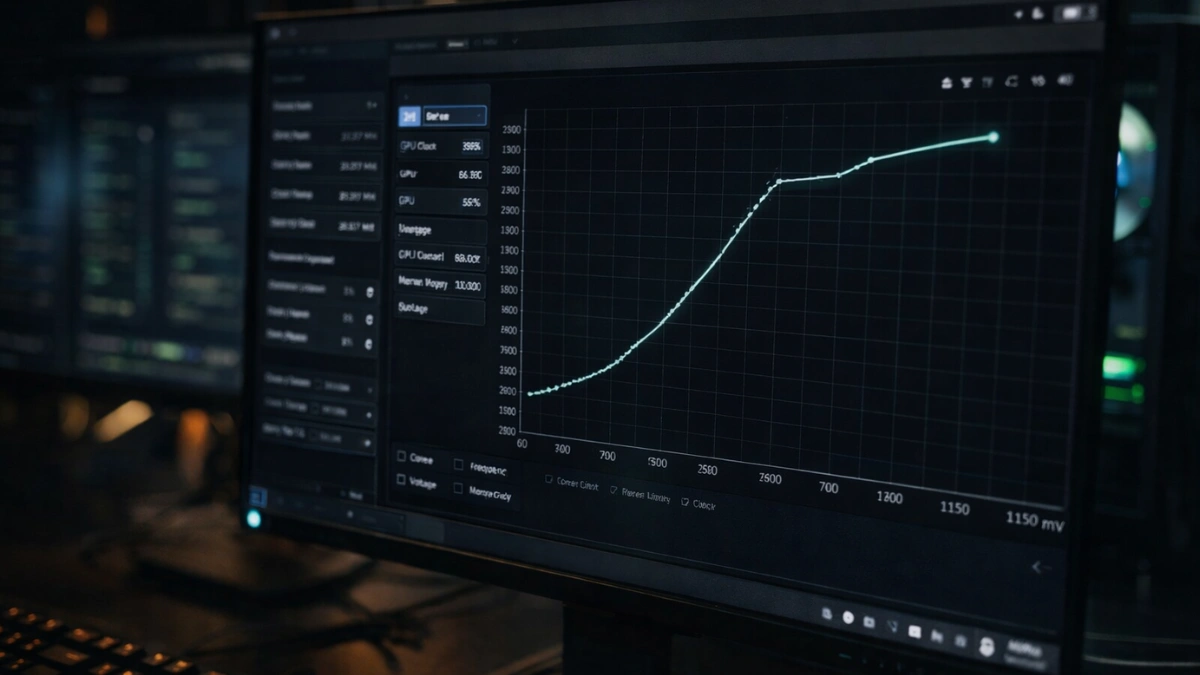
In MSI Afterburner, press Ctrl+F to open the voltage/frequency curve editor. You’ll see a graph with voltage (mV) on the X-axis and frequency (MHz) on the Y-axis. Each point represents the clock speed your GPU targets at that specific voltage level.
The default curve ramps frequency upward as voltage increases. Your GPU picks a point on this curve based on temperature, power limits, and silicon quality. The goal is shifting this curve so the same frequencies occur at lower voltages.
My undervolting process step by step:
First, identify your target frequency. Run a demanding benchmark or game and note your GPU’s typical boost clock. Mine averaged 2850 MHz during Cyberpunk 2077 at max settings.
Next, find a lower voltage point on the curve. Look for where your target frequency intersects with a lower voltage than stock. I wanted 2850 MHz, which normally ran at 1100mV on my card. I looked for that same frequency at lower voltage points.
Then test progressively lower voltages. I clicked the point at 1050mV and dragged it up to 2850 MHz, then flattened all points to the right of it. This tells the GPU to run 2850 MHz at 1050mV maximum, never exceeding that voltage.
Apply your changes by clicking the checkmark, then run a demanding game or benchmark for 15-20 minutes. Watch for crashes, visual artifacts, or driver resets.
Finally, iterate toward optimal settings. If your system stays stable, try 1025mV. If it crashes, back off to 1075mV. Finding the limit requires patience but pays off.
My final results: My RTX 4070 Ti runs 2850 MHz completely stable at 1025mV instead of the stock 1100mV. That 75mV reduction dropped temperatures by 11°C and power consumption by 55W with absolutely zero performance loss.
For related GPU tuning techniques, see the GPU overclocking beginner’s guide. Undervolting uses the same tools and similar skills.
AMD undervolting with Radeon Software
AMD makes undervolting accessible directly through Radeon Software without requiring third-party tools.
Open Radeon Software, navigate to Performance, then Tuning. Enable Manual Tuning to unlock voltage controls.
AMD offers a simpler approach than NVIDIA’s curve editing through voltage offset. This reduces voltage across all frequency points by a fixed amount. Start with -30mV and increase the offset in -10mV increments until you encounter instability.
A friend’s RX 7800 XT achieved -50mV offset running completely stable, dropping temperatures from 82°C to 71°C during Starfield sessions. Power consumption fell by approximately 40W with no performance difference.
AMD’s voltage controls integrate smoothly with other Radeon features. The AMD Radeon settings optimization guide covers these controls alongside other performance options.
Stability testing your undervolt
An unstable undervolt causes crashes, black screens, or driver resets. These outcomes are annoying but not dangerous, your hardware remains perfectly safe. Proper testing prevents mid-game crashes during important moments.
My testing protocol involves three stages. First, run 3DMark Time Spy Stress Test for 20 loops. This catches obvious instability quickly. Second, play a demanding game for 30+ minutes, real gaming loads differ from synthetic benchmarks. Third, test across multiple games over several days to catch edge cases.
Watch for these instability signs: “NVIDIA driver has recovered” error messages, black screens requiring restart, visual artifacts during gaming, or game crashes without error messages.
When instability appears, add 25mV to your undervolt and retest. Finding the stable limit takes iteration. My RTX 4070 Ti needed three attempts before I found 1025mV as its reliable sweet spot.
Combining undervolting with other optimizations
Undervolting works alongside other GPU optimizations for cumulative benefits.
Lower temperatures from undervolting mean your fans don’t need to spin as fast. After finding my stable undervolt, I adjusted my fan curve to run quieter while maintaining comfortable temperatures. The GPU temperature management guide covers fan curve configuration in detail.
You can stack undervolting with reduced power limits for even greater efficiency. After locking in my undervolt, I reduced power limit to 90%. My card still hits 2850 MHz in most scenarios while running even cooler and quieter.
Driver settings also interact with your undervolt. NVIDIA’s power management modes affect how the GPU responds to load. The NVIDIA Control Panel guide explains how these settings work together.
Frequently asked questions
Can undervolting damage my GPU? No. Undervolting reduces electrical stress on your GPU, the opposite of damage. The worst outcome is a driver crash, which you fix by adding voltage back. I’ve run my RTX 4070 Ti undervolted for eight months without a single hardware issue.
Will I lose FPS from undervolting? Not if done correctly. You maintain the same clock speeds at lower voltages. Some users actually gain FPS because cooler GPUs boost more consistently without thermal throttling.
Does undervolting void my warranty? No. Undervolting is a software adjustment that resets when you clear settings or reinstall drivers. Manufacturers cannot detect it, and it doesn’t modify hardware in any way.
How long does the setup process take? About 30-60 minutes for initial testing and iteration. Once you find your stable settings, they persist until you decide to change them.
Does undervolting work on laptop GPUs? Yes, and laptops benefit the most. Reduced heat and power consumption directly improve sustained performance in thermally-constrained laptop chassis. The process is identical to desktop GPUs.
Final thoughts
Undervolting is one of the easiest and most effective ways to optimize your GPU.
You get:
- Lower temperatures
- Less noise
- Same gaming performance
All in under an hour.
Want to push your performance even further? Check out our full GPU optimization guide for advanced tweaks and settings.